

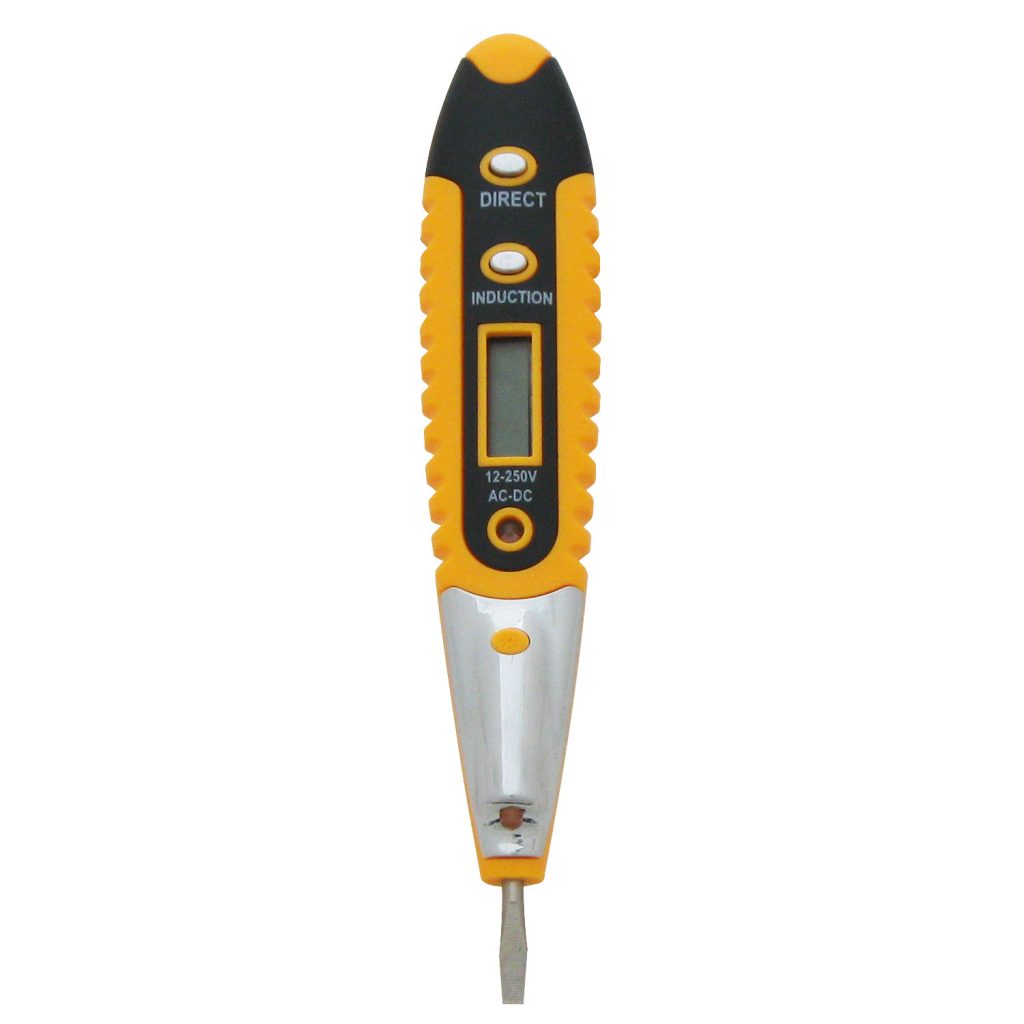
A voltage tester is the instrument you use to decide whether a circuit is safe to touch, which makes it the one tool in the bag that has to be tested before it is trusted. The procedure is short: prove that the tester indicates on a source you know is live, carry out the measurement you came to make, then prove it again on the same known-live source before you put it away. If it cannot indicate on the known-live source, it is not a tester — it is a plastic pen, and any circuit it has just declared dead is still unverified. Nothing about this depends on the price of the tool. A contact pen, an inductive pen such as the M200, and a pen with a display all fail in the same direction, and all three are checked the same way.
Wenzhou Zhengyuan Electronic Co., Ltd. builds the testers referred to below in its Wenzhou factory.
Why the Tester Is the One Tool You Test First
Every other instrument in the bag produces a number that a second instrument can check, or a signal that the circuit itself confirms. A clamp meter reading low current on a motor is confirmed when the motor misbehaves. A multimeter reading 0 V on a light switch is confirmed when the light refuses to come on. A voltage tester is the only instrument whose answer is used to decide that a conductor may be touched, and the conductor has no way to argue back once it has been declared dead.
That asymmetry is the whole argument. A tester that reads live when the wire is dead costs you five minutes and a second look. A tester that reads dead when the wire is live costs a hand. The tester is therefore the single instrument where a routine, repeated, mechanically performed self-check is worth more than any specification printed on the body.

The Rule: Prove It Live, Do the Work, Prove It Live Again
The check is sometimes called a live-dead-live test, and the order of the three steps is what makes it work. Prove the tester indicates on a conductor known to be live. Move to the conductor you care about and take the reading you are there for. Then go back to the original known-live conductor and prove the tester still indicates. The first check proves the tester was working when you started. The last check proves it was still working when you finished, which is the only evidence that covers the moment in between.
Without the second check you are relying on a memory. Testers fail in ways that do not announce themselves: a battery that sags under load, a sensor that has drifted, a lead that has broken inside its insulation and still looks intact from the outside, a tip that has been bent until the internal contact no longer touches. Any of these can happen between the first check and the measurement, and none of them can happen without the tester going silent. The second check is what converts “it was fine twenty minutes ago” into something you actually know.
What Counts as a Known-Live Source
A known-live source has to be live for a reason you can state without referring to the tester itself. The outgoing terminal of a breaker that you have just switched on and that feeds a circuit you can see working is a known-live source. A socket that powers a lamp you can see burning is a known-live source. A conductor that the plant’s own panel meter or a second instrument shows at a nominal voltage is a known-live source. A wire that the tester lit up on the last time you were here is not.
If no known-live source exists in the building, do not improvise one by holding the tester near a cable and accepting a beep. Either arrange a source you control, or use a second, independent instrument on the circuit you are about to work on. The point of the first step is to eliminate the tester as a variable before you point it at something that matters, and a source whose liveness you inferred from the same tester cannot do that.
Why “It Lit Up Last Week” Is Not Evidence
A tester is a battery-powered instrument that lives in a pocket, rides in a van, and is dropped more often than any other tool in the trade. The failures that matter are the quiet ones. A cell that still lights the indicator in open air but cannot sustain the load when the sensing circuit is drawing current is the classic case: the pen proves itself against your finger, then reads nothing on a live conductor, and the user concludes the conductor is dead. Contact resistance at the tip does the same thing more slowly, as plating wears through and the conductive path becomes intermittent.
None of those faults produce a warning. The instrument has no way to tell you that its reading is low because the wire is dead rather than because its own battery is flat. That is why the check has to be external and has to be repeated: it is the only test that distinguishes a dead circuit from a dead tester, and it is also the only test that catches a tester that was alive at the start of the job.

Five Checks That Take Under a Minute
None of these requires a bench, a calibration certificate, or more than a minute in total. They are ordered by how much they catch, and the first two are the ones that actually prevent an accident.
| Check | How to do it | It passed if |
|---|---|---|
| Known-live source, before | Touch the tip to a conductor you have independently confirmed is live, not one the tester told you about | The tester indicates within about a second, every time you repeat it |
| Known-live source, after | Repeat the same check immediately after the measurement that matters, before putting anything away | The indication is the same as it was before the work started |
| Tip and probe continuity | Look at the tip under a light and press it gently against a hard surface to feel that the internal contact moves | The tip is straight, bright, and does not move or click under light pressure |
| Battery under load | Hold the tester in the way it is used, not in open air, and watch the indicator for a full five seconds | The indicator stays fully lit and does not fade, flicker, or dim |
| Cross-check against a multimeter | Measure the same conductor with a digital multimeter on a voltage range and compare what each instrument says | Both agree that the conductor is live, even if the two numbers do not match |
What a Failing Tester Looks Like
Most failing testers do not go dark. They go ambiguous. A non-contact pen that used to beep a clear distance away from a cable now needs to be pressed against the insulation, and the user gradually changes how they hold it without noticing. A pen with a display shows a number that flickers between a plausible value and a dash. A tester that passed on the first check and fails on the second is the most dangerous of all, because the work in between was done on a circuit that the instrument had already stopped confirming.
The ambiguous cases are why the check is repeated rather than performed once. A tester with a clear, sudden failure is a nuisance; a tester that has drifted into a reduced range of sensitivity is a hazard, because the user’s own behaviour adapts to it. If a pen suddenly needs to be closer to the conductor than it used to be, that is a failure, not a technique improvement. The same physical principle explains why a working non-contact tester can also beep on a dead wire, and why neither the beep nor its absence can be taken as a final answer on its own.
What to Do When the Check Fails
When the tester fails the known-live check, stop. Do not conclude that the circuit is dead because the tester is suspect, and do not conclude that the circuit is live either. Replace the cell, then repeat the check; if the tester still fails, take it out of service and mark it. The only safe reading from a tester that has just failed its own proof is no reading at all, and the circuit you were about to open has to be verified by another method or by a second instrument before anyone touches it.
That is also the argument for carrying two instruments rather than one. A contact pen and a multimeter together cost less than an hour of downtime and cover each other’s blind spots, which is the same trade-off that separates a tester from a multimeter in the first place. The instrument you trust most is still the one you just proved.